
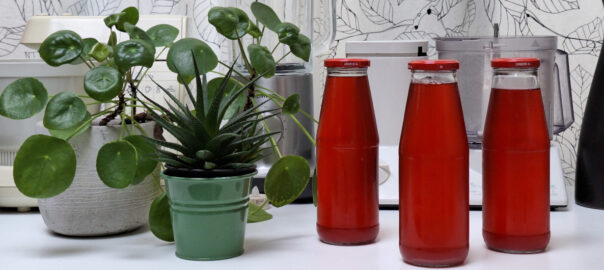
Yoga Kitchen – Simple, healthy, compassionate and plant-based
The best kombucha is home-made
This was a huge hit at the yoga studio during the hot summer months of 2026. Instead of the traditional cup of herbal tea after class, I served refreshing home-made kombucha.
Kombucha is a fermented drink. You make it in two steps:
- An initial fermentation of tea in which sugar has been dissolved, using specific microorganisms
- An optional second fermentation in which the result of the first step ferments further with fruit of your choice, without the microorganisms
A practical guide to making kombucha:
Here’s what you’ll need for a 2-litre batch
- A glass container with a capacity of just over 2 litres
- A piece of cloth and an elastic band or string to seal the container during fermentation
- Black or green tea, or both. Loose-leaf tea is of better quality
- 140 to 160 g of cane sugar (equivalent to 70 to 80 g per litre)
- A SCOBY, which is ‘the little creature’ that carries out the fermentation
- Fresh fruit of your choice
First fermentation, step by step
- Bring the amount of water required for your culture to the boil and pour it into your container.
- Make tea: allow a generous amount of loose green and/or black tea to steep in a tea infuser for 5 to 10 minutes in the hot water.
- Remove the tea, add 70 to 80 g of light cane sugar per litre of tea and stir well until dissolved.
- Now leave to cool to room temperature.
- Add the scoby to the tea.
- Cover the top of your container with a cloth that allows air to pass through but keeps insects out.
- Store the jar, preferably in a dark place, at room temperature (18°C to 20°C is ideal).
- Leave to ferment for a few days.
- Optional: stir the liquid occasionally by turning the jar or shaking it gently.
- Taste the liquid from time to time until it reaches the flavour you prefer.
- Finally, stop the first fermentation by transferring the liquid to another container, leaving the scoby behind. Leave the scoby in a small amount of the liquid at the bottom of the jar.
- If desired, start the second fermentation.
Second fermentation, step by step
- Keep the result of the first fermentation in a glass container.
- Add fresh or defrosted frozen fruit or fruit juice, of your choice.
- Seal the top of your container again with a cloth that allows air to pass through but keeps insects out.
- Store the jar at room temperature (18°C to 20°C is ideal).
- Leave it to ferment for another one or two days.
- Optional: give the fruit a gentle stir now and then by turning the jar or shaking it gently.
- Finally, strain out the fruit by pouring your kombucha through a fine sieve.
- Pour the kombucha into bottles with screw-top lids and store in the fridge.
Kombucha keeps for a very long time in the fridge. Most of the sugar is used up during the initial fermentation process. The scoby produces organic acids, which give the kombucha its characteristic tangy flavour.
Important practical tip: Use bottles with a wide neck of about 5 cm (for example, Passata bottles). You can easily clean these each time with a bottle brush.
Which “creatures” are responsible for the fermentation?
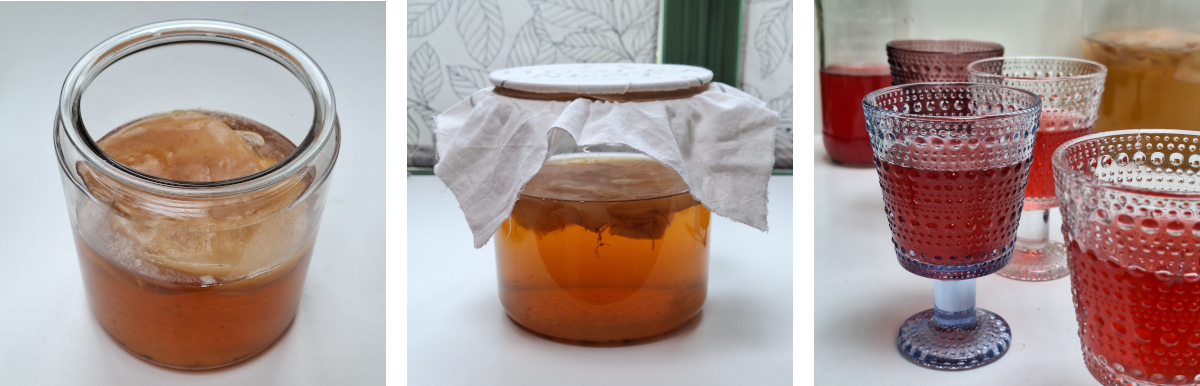
To make your own kombucha, you need what’s known as a SCOBY. It looks a bit like a smooth, slimy jellyfish, but without the tentacles. For a long time, I had absolutely no idea where the word ‘scoby’ came from, until I read somewhere that SCOBY is actually an English acronym:
- S for Symbiotic
- C for Culture
- O for Of
- B for Bacteria
- Y for Yeast
In other words: a symbiotic culture of bacteria and yeasts, where the word ‘symbiosis’ refers to a form of coexistence that benefits both partners.
How do you get hold of a scoby?
I haven’t found them for sale anywhere yet. People who make kombucha simply pass scobies on to one another. With each new round of fermentation, the scoby grows and forms new layers beneath the older ones. These can easily be split off and used to start a new culture.
How long does the first fermentation take?
At room temperature and with an actively producing scoby, you’ll get a good result after 4 to 5 days. What counts as ‘good’, of course, depends on your individual taste.
The longer the fermentation, the more sour the kombucha. If you ferment it for a very long time, you’ll end up with kombucha vinegar. This is great for use in the kitchen, for example to make salad dressing or vinaigrette.
Important practical tip: Especially when you’re starting out, keep a kombucha log. This is a table in which you record details such as the following:
- Start time of the first fermentation
- End time of the first fermentation
- Duration of the first fermentation
- The ambient temperature during fermentation
- Result of the taste test
- Fruit chosen for the second fermentation
- Duration of the second fermentation
- Final taste test after the second fermentation
This way, you’ll discover which duration works best for you. You’ll also notice how higher or lower temperatures affect the fermentation time.
What fruit can I use for the second fermentation?
In principle, anything is possible. I’ve personally had very flavourful results with mixed red berries, pears, plums and apricots. It’s best to use organic fruit. Cut it into small pieces before adding it to the jar.
How do I store the scoby if I don’t want to make kombucha?
The kombucha will survive for a long time in a glass container with a lid, which should not be sealed airtight. Place it in plenty of water and add a few teaspoons of cane sugar as a minimum amount to ensure its survival.
Change the water every 3 weeks and add a few teaspoons of cane sugar again until you restart your fermentation process.
Participate in the cooking classes:
Read more about plant-based nutrition and health:
Read more about plant-based food
Find out about yoga and yoga classes in Schaerbeek:
Check out the yoga classes here: