Yoga Kitchen – Simple, healthy, and plant-based
The forgotten brother of the soya bean
Choosing to eat plant-based food simultaneously offers opportunities to break free from the unhealthy traditions of our traditional animal-based eating habits.
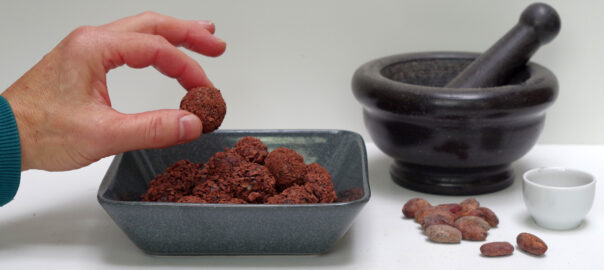
Lupin seeds, like soybeans and other beans, are part of the immense family of legumes.
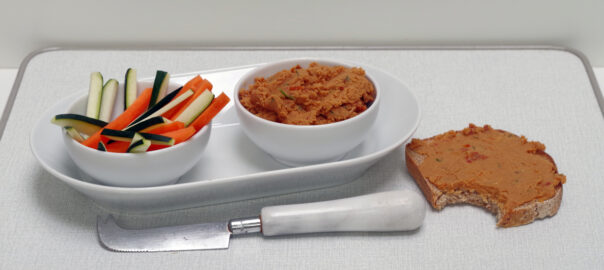
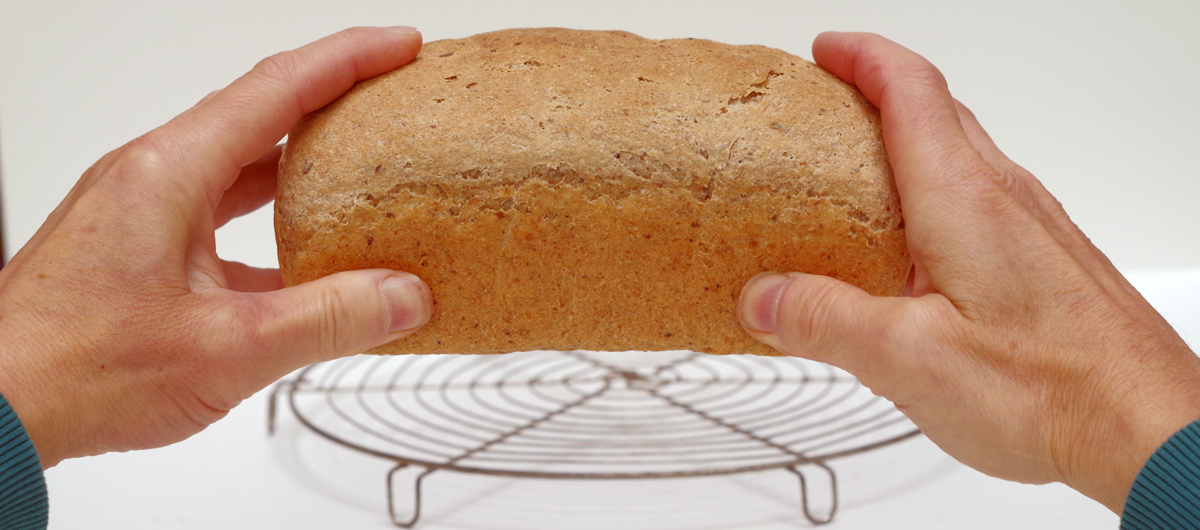
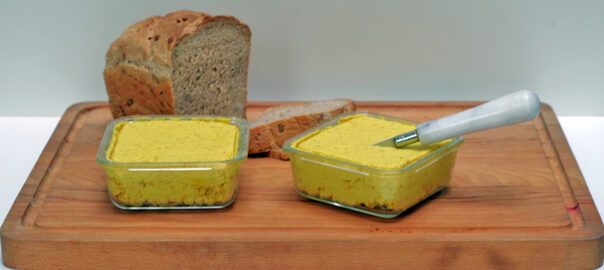
Here is an interesting recipe for a preparation to garnish bread or toast that is both spreadable and sliceable thanks to the presence of coconut oil. In terms of flavour and texture, you can think of the result as a tasty alternative to cheese.
Personally, I believe the plant-based movement would benefit from stopping trying to imitate animal products. Because by doing so, it classifies itself as second-rate, as Ersatz, as if everything plant-based can only be an approximate copy of animal originals. While it is actually the other way around. When the first animals appeared on earth, it had long been covered by a lush, green carpet of plants. Plant-based cuisine has its own intrinsic value and immensely varied palette of flavours. It is time to rediscover and appreciate it.
What ingredients do you need?
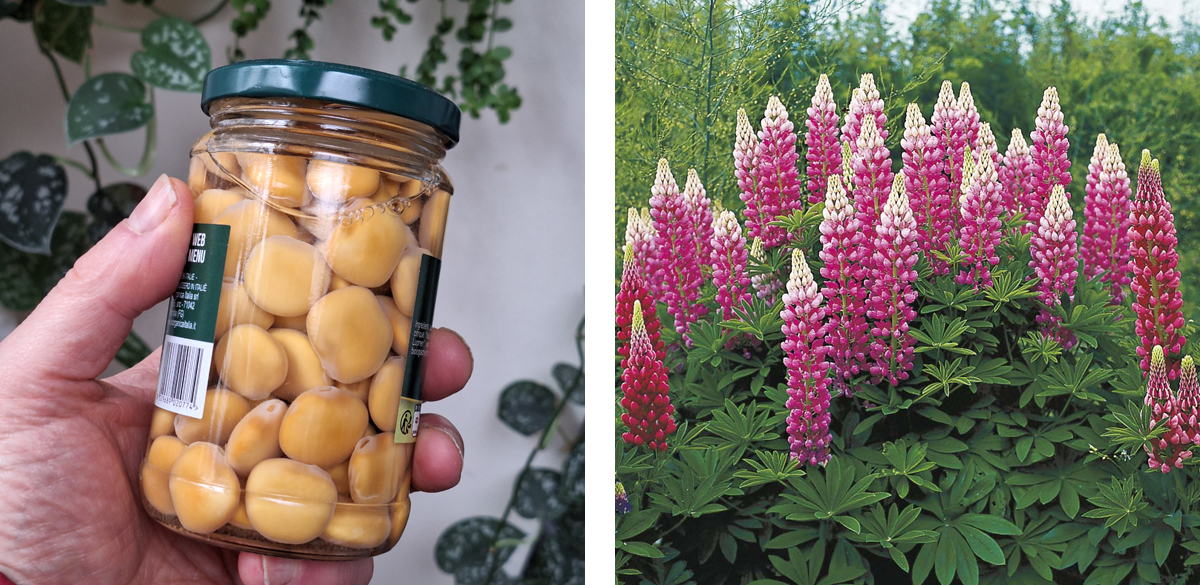
- 200 g dry or about 550 g ready-to-use cooked lupin seeds
- 100 g extra virgin coconut oil
- 6 teaspoons of nutritional yeast
- 4 tablespoons of water or beans’ cooking liquid
- 1 tablespoon tamari (soy sauce)
- 1 teaspoon turmeric
- also 1 tablespoon of white miso
- and then 1 or half a teaspoon extra sea salt (optional)
- extra black pepper (optional)
The pressure to imitate cheese at all costs has the side effect that often too much salt is used in recipes for so-called “cheese substitutes”. Lupin seeds from a jar are usually already pickled. Tamari and, to a lesser extent, miso also give extra salty flavour. That’s why the last extra whole or half teaspoon of sea salt is only included as an option, which I found in the original recipe for this spread. Moreover, I myself always use reduced-salt tamari.
It is in the interest of your health to keep your salt intake on the low side.
Preparation method
First method, with ready-to-use cooked lupin seeds
- Drain the brine from the lupin seeds and rinse them under running water.
- Melt the coconut oil au bain marie over hot water.
- Add all the ingredients into a food processor with an S-shaped blade and grind to a smooth yet firm texture.
- Taste and adjust salt and pepper levels if necessary.
- Transfer to a container that you can close with a lid and store in the fridge.
Second method, starting from dry lupin seeds
This is my favourite. The white-coloured, dry lupin seeds are preferable to pickled, ready-to-use seeds in terms of price and packaging situation.
- Soak the 200 g lupin seeds for 24 h in very ample water. Their volume at least doubles.
- Cook the soaked lupin seeds (without salt!) with some seaweed and savory for about 40 minutes in a pressure cooker. This yields about 550 g of cooked lupin seeds.
- Scoop the cooked lupin seeds from the cooking liquid and let them cool.
- Have some cooking liquid aside as an alternative to the tablespoons of water.
- Melt the coconut oil au bain marie over hot water.
- Add all the ingredients into a food processor with an S-shaped blade
- Grind until smooth yet firm.
- Taste and adjust salt and pepper levels if necessary.
- Tranfer into a container that you can close with a lid and store in the fridge.
Done!
Of course, you can also cook the lupin seeds in a classic saucepan with a lid until tender, but that takes much longer (up to an hour and a half!). A pressure cooker is much more economical to use. It is well worth the investment if you often eat beans. The lupin seeds change colour during the cooking process, turning a deep warm yellow.
This vegetable spread keeps for up to 3 weeks in the fridge.
Taste test and health verdict
This will appeal to true cheese addicts. The result has a salty, slightly oily taste and is very filling. So this could be of interest to those having a hard time kicking off fatty, animal-based cheese.
The spread is high in protein and fat, making you feel satiated very quickly. Yet a caveat: it is the coconut oil that provides the rich fat content. Coconut oil is, quite wrongly, often praised to the skies in terms of nutritional value. But coconut oil, is made of almost exclusively saturated fats, of which it is best not to consume too much. Yes, coconut oil has a slightly better fatty acid profile than animal saturated fat. But beware, it is still better to use in moderation.
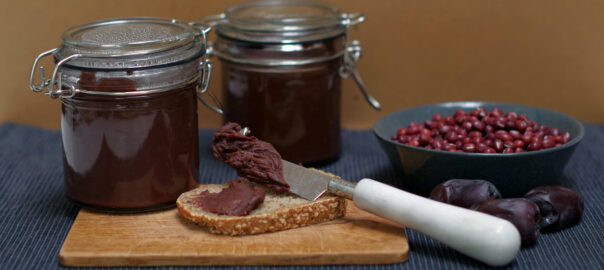
Thus, I would be more inclined to incorporate the lupine seeds into a spread with no or less added fats, along the lines of this tomato hummus.
Indeed, opting for plant-based eating offers opportunities to simultaneously break free from the unhealthy habits of our traditional animal-based eating traditions.
Lupin and lupin seeds
Lupin flowers are sometimes known because of the brightly coloured red to purple over yellow to white torch-shaped flowers planted in gardens as ornamental flowers. In agriculture, lupin is grown as a so-called green manure crop. Because the plant absorbs nitrogen from the air and stores it in its roots. Thus, it enriches the soil. Lupin flour is made from the seeds, which is then often wasted as animal feed. For human consumption, you usually find pre-cooked lupin seeds in brine in jars in the trade. The dry seeds are harder to find. Nevertheless, there is a hopeful renewed interest in growing this valuable plant species.
As already mentioned at the bottom of this recipe for tomato hummus, legumes are good meat substitutes. With the caveat that their amino acid profile is not the same as that of animal products. Their lower levels of the amino acid methionine you can compensate for by simply eating cereal products. Legumes and cereals complement each other perfectly. And you don’t have to eat them together in the same meal.
Lupin seeds and soybeans, however, are an exception to the above rule. They are very well balanced in terms of amino acid profile on their own.
Lupin seeds are very rich in protein: some 35 g per 100 g of dry seeds. But of course you don’t eat these seeds dry. Cooked lupin still contains 15 g of protein per 100 g of ready-to-use product.
Lupin seed spread, per 100 g of product
Values are approximate and without the extra teaspoon of salt, which is optional.
| Energy | Carboh. | Sugars | Fat | Sat. Fat | Protein | Fibre | Salt |
|---|---|---|---|---|---|---|---|
| 949 kJ/227 kcal | 9,8 g | 1,1 g | 15,5 g | 11,2 g | 13,7 g | 3,0 g | 0,13 g |
Participate in our cooking classes:
Read more about plant-based nutrition and health:
Read more about plant-based food
Find out about yoga and yoga classes in Schaerbeek:
Check out our yoga classes here: